

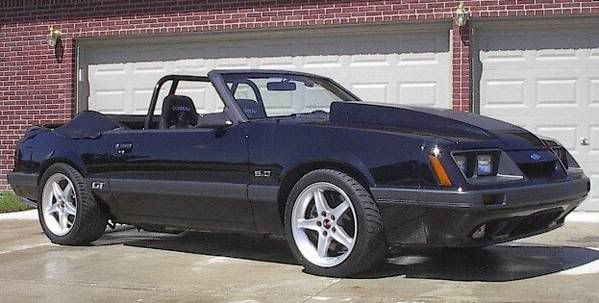
This is my 47K mile Georgia car that I've owned for 6 years. It was set up with a carb'd motor and I bought it as a CLEAN roller when I found rot on my 89 notch.
![Image]()
Car features full M2300K cobra brake kit, Genuine R58 95 cobra wheels, 8 point cage and lots of wieght reduction. It has a custom cloth top that is the same material as the 03/04 cobras. It has full in dash AutoMeter Sport comp speedo,tach, gauges.
![Image]()
My goal for this car is 550-600 RWHP and to run consistent mid 10's on 17" Mickey Thompson Drag radials. It will have lots of good pushrod parts and a little blower..Forged stroker motor, TEA ported heads, Anderson Blower cam, 1 3/4 longtubes, Vortech V1 S-trim with an Si impeller (50 cfm less than a T trim), 3550 trans that has an upgraded 26 spline input and TKO500 gearset, 3.73 31 spline 8.8, and a few "other" parts...
Here goes....
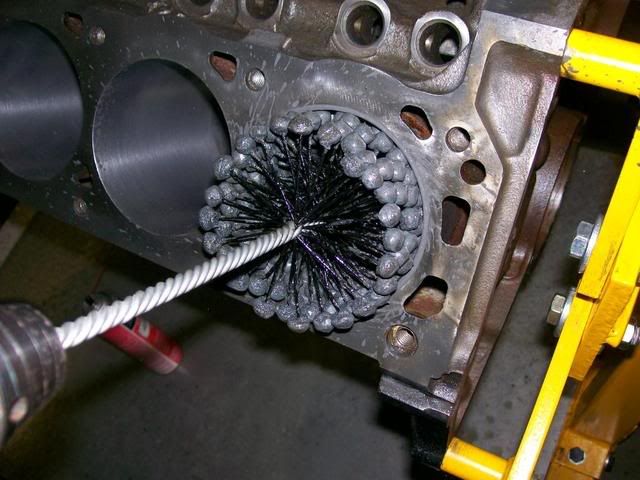
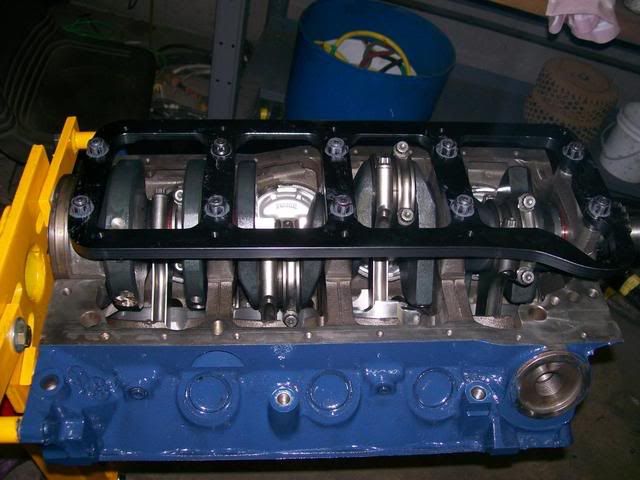
Motor is an alternative Auto built 342 Forged Stroker with Ford Sportsman B50 block (2 bolt). I bought the motor with less than 800 miles on it, but it had been sitting on had some very slight surface rust in the intake galley. I tore it down and cleaned it up...
![Image]()
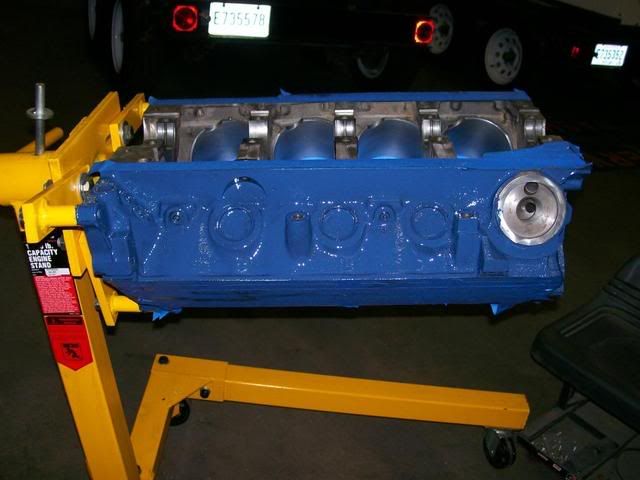
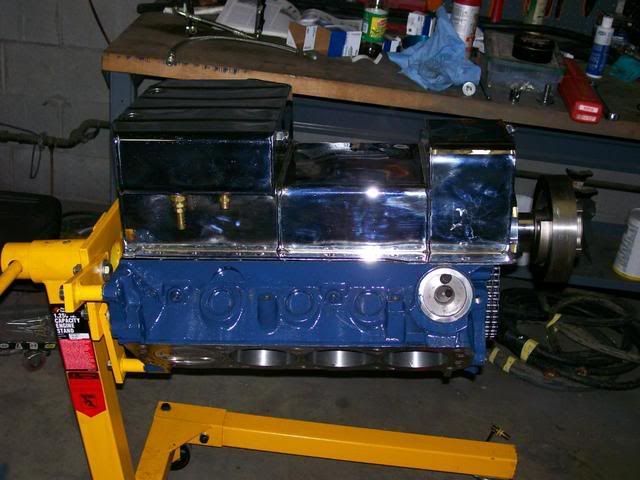
Gave her a coat of POR15 Ford Blue..
![Image]()
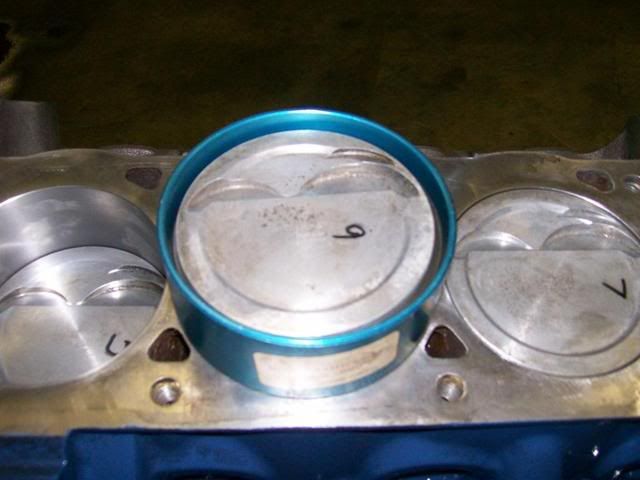
THis is how low of a milelage motor it was...still had the magic marker #'s on the pistons from when it was balanced.....
![Image]()
![Image]()
![Image]()
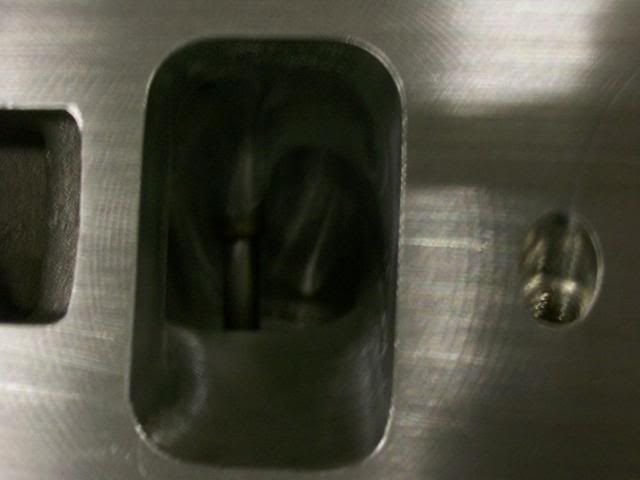
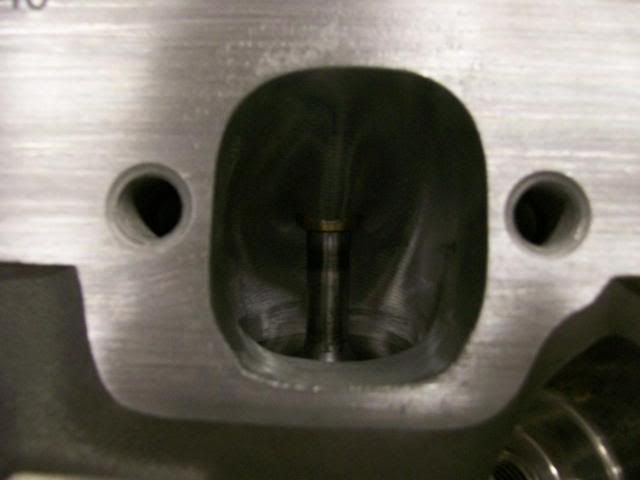
TEA CNC ported Twisted Wedges:
![Image]()
![Image]()
![Image]()
Here is a custom explorer intake I have worked on, on and off for about 4 years. Freak calls it the EXPLODER JR intake. I have a holley systemax that I will also try as a backup and see which one works better. I have a ton of time invested in the lower intake and my reasoning for it is of all the EFI 5 liter intakes, the GT40 series intake always had the highest torque numbers under the curve but ran out of steam about 5200 RPM and the #1 & #5 cylinders would run lean from lack of equal air/fuel distribution, hoping my EXPLODER JR will be the "best of both worlds". And maybe I have a personal reason because everyone says you can't make big power with a GT40 intake...
![Image]()
![Image]()
![Image]()
Stock, uncut GT-40 lower on top for comparison
![Image]()
![Image]()
Stock Cobra lower #5 runner for comparison:
![Image]()
![Image]()
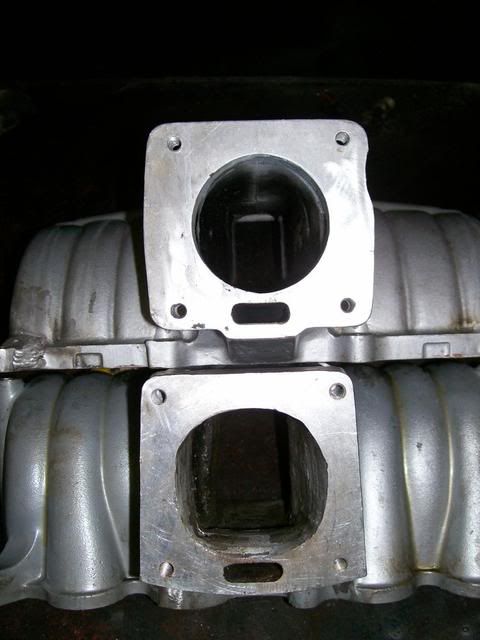
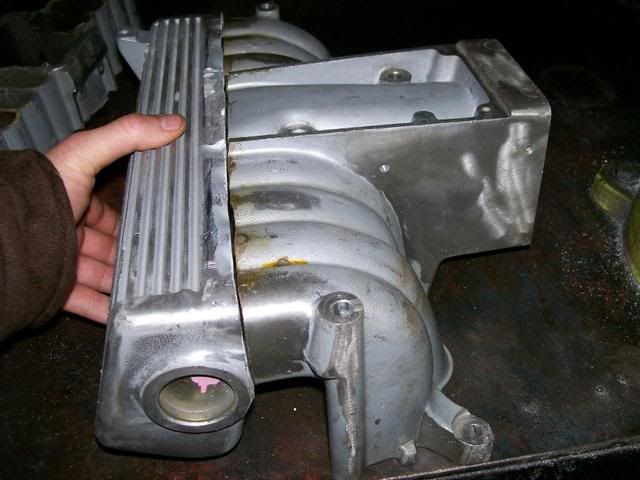
This is the upper that I've cut 3" of runner length out of and opened up quite a bit
the throat opening pic is compared to an Edelbrock Performer RPM on top
![Image]()
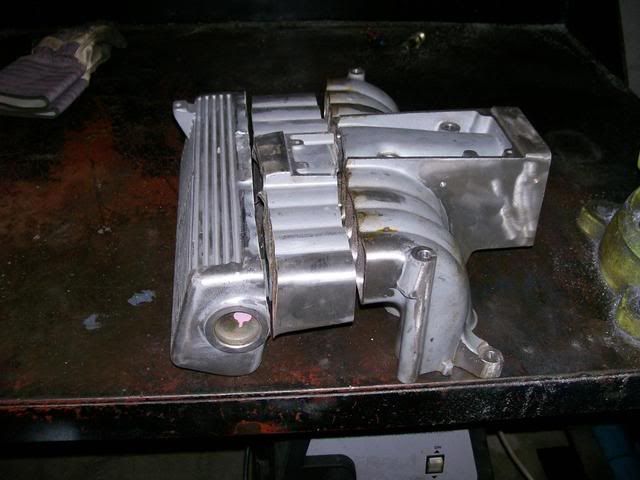
I cut the upper and took 3" of runner length out of it and ported the upper pretty extensively:
![Image]()
![Image]()
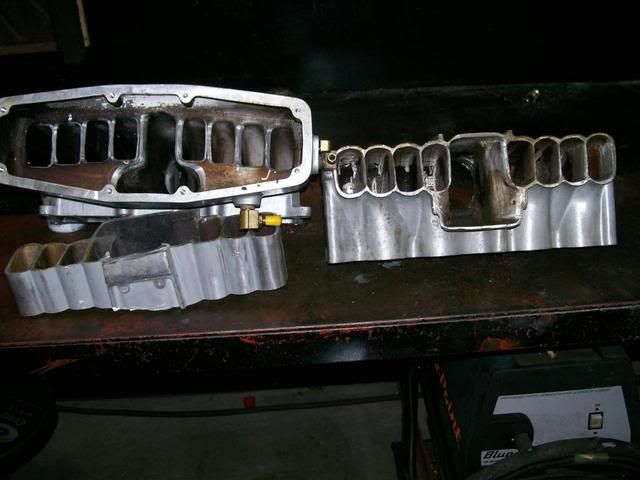
Edelbrock Performer RPM on left for comparison:
![Image]()
![Image]()
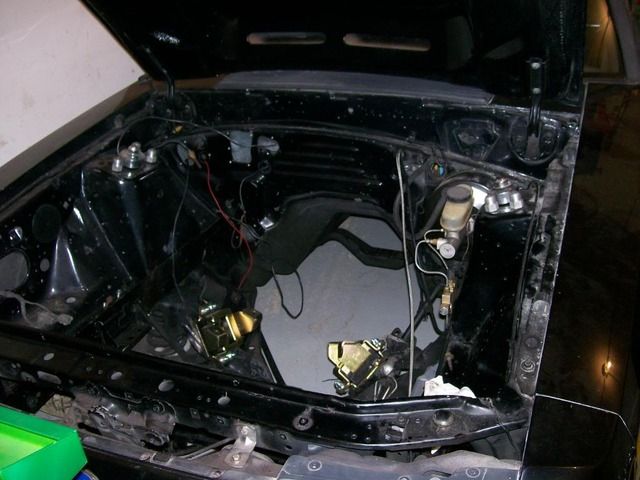
Got the car out of storage the other day....backed it in the garage at my fathers. My goal is to have the car done for Mustang Week in July
![Image]()
![Image]()
I feel like Paul Walker from the Fast and The Furious with the red truck full of parts from storage...lol
![Image]()
![Image]()
![Image]()
I have a couple seat options for the car...I have a set of FloFits with mesh headrests in grey. I love the seats, but they are heavy as hell. I also have the lightweight Corbeau Forza seats in black. The "dove grey" carpet is hideous and will be getting changed to black. The door bars need cut out and I'm going to weld in new ones so I can bolt any seat back in, in the stock location. The bars are too low and too far towards the inside of the car not allowin the stock seat mounts to be used.
Car features full M2300K cobra brake kit, Genuine R58 95 cobra wheels, 8 point cage and lots of wieght reduction. It has a custom cloth top that is the same material as the 03/04 cobras. It has full in dash AutoMeter Sport comp speedo,tach, gauges.

My goal for this car is 550-600 RWHP and to run consistent mid 10's on 17" Mickey Thompson Drag radials. It will have lots of good pushrod parts and a little blower..Forged stroker motor, TEA ported heads, Anderson Blower cam, 1 3/4 longtubes, Vortech V1 S-trim with an Si impeller (50 cfm less than a T trim), 3550 trans that has an upgraded 26 spline input and TKO500 gearset, 3.73 31 spline 8.8, and a few "other" parts...
Here goes....
Motor is an alternative Auto built 342 Forged Stroker with Ford Sportsman B50 block (2 bolt). I bought the motor with less than 800 miles on it, but it had been sitting on had some very slight surface rust in the intake galley. I tore it down and cleaned it up...
Gave her a coat of POR15 Ford Blue..
THis is how low of a milelage motor it was...still had the magic marker #'s on the pistons from when it was balanced.....
TEA CNC ported Twisted Wedges:

Here is a custom explorer intake I have worked on, on and off for about 4 years. Freak calls it the EXPLODER JR intake. I have a holley systemax that I will also try as a backup and see which one works better. I have a ton of time invested in the lower intake and my reasoning for it is of all the EFI 5 liter intakes, the GT40 series intake always had the highest torque numbers under the curve but ran out of steam about 5200 RPM and the #1 & #5 cylinders would run lean from lack of equal air/fuel distribution, hoping my EXPLODER JR will be the "best of both worlds". And maybe I have a personal reason because everyone says you can't make big power with a GT40 intake...


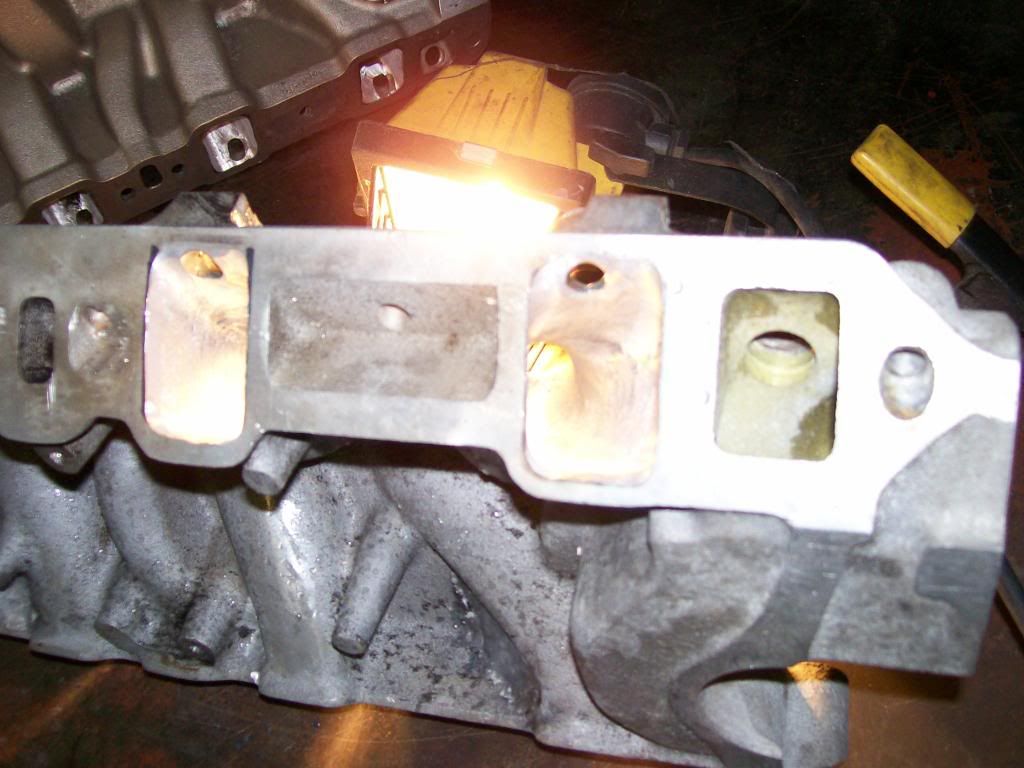
Stock, uncut GT-40 lower on top for comparison


Stock Cobra lower #5 runner for comparison:


This is the upper that I've cut 3" of runner length out of and opened up quite a bit
the throat opening pic is compared to an Edelbrock Performer RPM on top
I cut the upper and took 3" of runner length out of it and ported the upper pretty extensively:

Edelbrock Performer RPM on left for comparison:
Got the car out of storage the other day....backed it in the garage at my fathers. My goal is to have the car done for Mustang Week in July


I feel like Paul Walker from the Fast and The Furious with the red truck full of parts from storage...lol

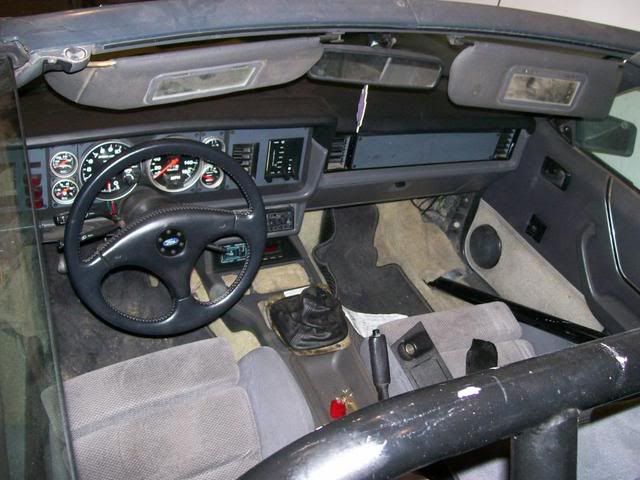
I have a couple seat options for the car...I have a set of FloFits with mesh headrests in grey. I love the seats, but they are heavy as hell. I also have the lightweight Corbeau Forza seats in black. The "dove grey" carpet is hideous and will be getting changed to black. The door bars need cut out and I'm going to weld in new ones so I can bolt any seat back in, in the stock location. The bars are too low and too far towards the inside of the car not allowin the stock seat mounts to be used.


")